best sanding block choices can make or break your DIY or professional project, especially when flawless surfaces and lasting results really matter. Many people underestimate how the right sanding block avoids fatigue, produces smoother finishes, and saves you time by keeping your efforts even and efficient.
Key Takeaways
- Choosing the best sanding block improves surface finish, grip comfort, and project speed, whether you are smoothing wood, drywall, or specialty surfaces.
- Brands like 3M and Norton lead the market with ergonomic and durable blocks, but eco-friendly and multi-use options are rapidly becoming popular in 2024.
- Common pitfalls include premature wear, poor dust management, and difficulty reaching corners—yet proper technique and accessory selection make all the difference.
- What You Need to Know About the Best Sanding Block
- How to Use the Best Sanding Block: Steps & Tools
- Sandpaper vs. Block vs. Sponge: In-Depth Analysis & Pitfalls
- Conclusion: Best Sanding Block Takeaways
- Frequently Asked Questions
What You Need to Know About the Best Sanding Block
The best sanding block offers stable support for your sandpaper, keeps your grip steady, and reduces hand fatigue. Most quality sanding blocks have a hard foam, rubber, or high-impact polymer core for durability. Brands like 3M and Norton offer extra ergonomic features such as rubber grips or contoured shapes, which are especially helpful during long sanding sessions.
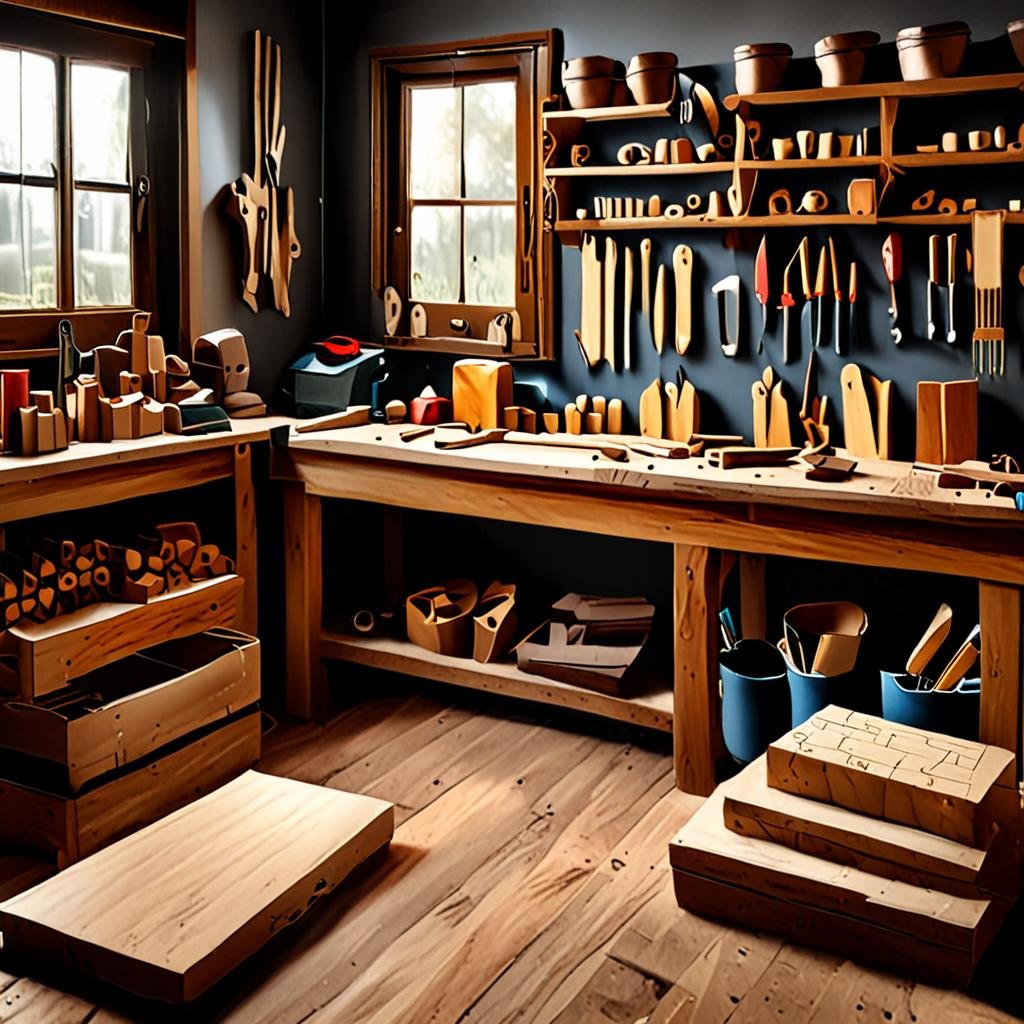
Essential tools for sanding include a heavy duty angled sanding block, assorted grit sandpaper sheets, a flexible sanding sponge for corners, and a dust mask. Newer eco-conscious blocks from brands like Gator now use recycled or biodegradable cores. For jobs like prepping drywall for painting or smoothing wood furniture, having a block that can accept interchangeable papers accelerates the process.
If you’re planning additional projects involving wall prep, see this complete guide to self leveling compound for flooring—smooth underlayment is key for a true professional result.
How to Use the Best Sanding Block: Steps & Tools
Follow these precise steps for consistent sanding results, whether you’re refinishing furniture, smoothing fresh drywall compound, or prepping a surface for contact paper:
- Choose your sanding block: For large, flat areas, opt for a sturdy plastic rubber-grip block. For tricky contours, reach for a flexible sanding sponge or palm sanding pad. Multi-surface projects benefit from a dual-grit foam block.
- Attach or wrap sandpaper: Select the right grit (start coarse, finish fine) and attach it snugly using the clamps or velcro backing. Cut paper neatly to size for full coverage.
- Sand along the grain (wood) or in smooth, overlapping passes (drywall): Apply even pressure. Let the block provide the muscle rather than your hands. For intricate details or curves, switch to a corner sanding sponge.
- Manage dust at intervals: Wipe the block and workpiece regularly using a microfiber cloth or use a vacuum attachment. Dust clogs grit and causes streaks.
- Monitor wear: Swap sandpaper or change out the foam block if it deforms or loses effect. For eco options, compostable core blocks from Gator are now available.
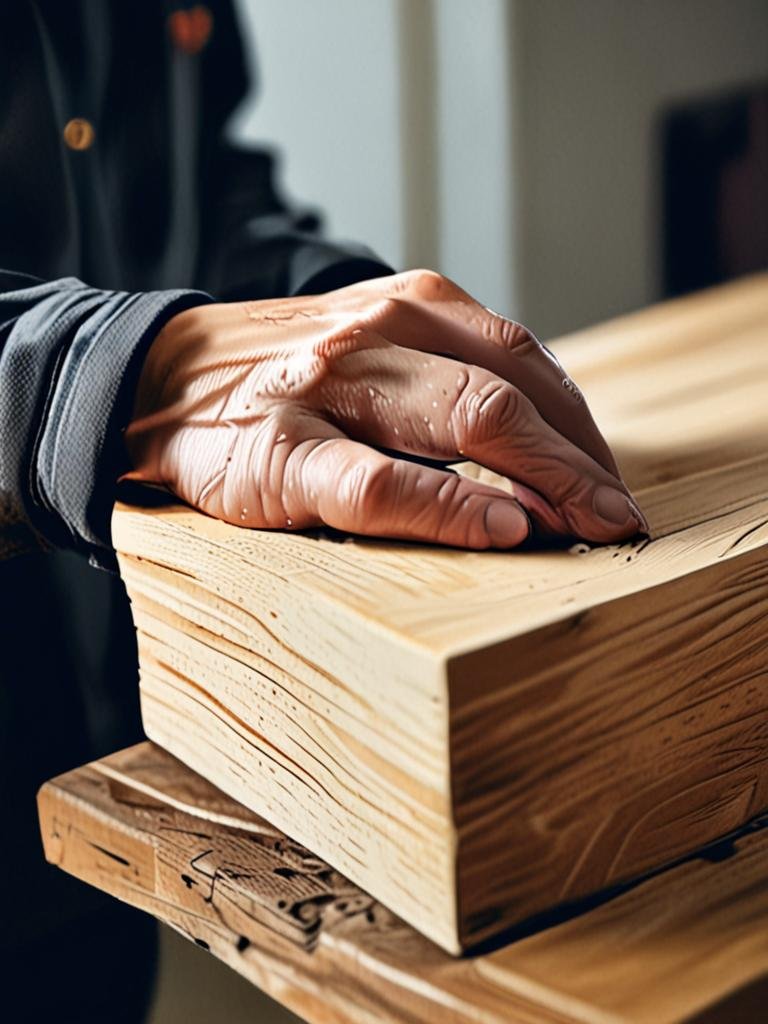
- Inspect the finish: Run your hand over the surface. If rough spots persist, repeat with finer grit and lighter passes for perfect smoothness.
Need a primer on surface prep before contact paper? This Art3d marble contact paper guide covers everything from filling imperfections to sanding techniques for adhesion. For a renter-friendly peel-and-stick option after prepping, see our NuWallpaper Mirei review.
Sandpaper vs. Block vs. Sponge: In-Depth Analysis & Pitfalls
Each sanding tool comes with tradeoffs. Here’s how sanding blocks compare to sanding sponges and basic sandpaper sheets in durability, ergonomics, and overall project fit:
| Feature | Best Sanding Block | Sanding Sponge | Plain Sandpaper |
|---|---|---|---|
| Grit Compatibility | Wide (changeable sheets, broad range) | Limited (fixed or dual-grit sides) | Most versatile, but no support |
| Durability | High (rubber/plastic core lasts longest) | Fair (soft foam compresses with use) | Low (wears fast, replace often) |
| Ergonomics | Designed for grip, reduces fatigue | Flexible, less support for prolonged jobs | No grip, hand strain common |
| Finish Quality | Consistent, flat surface finish | Softer finish for curves, may wear uneven | Can leave grooves if uneven pressure used |
| Best Uses | Walls, wood, cabinets, doors | Curves, molded surfaces, corners | Quick, small touch-ups or tight spaces |
Typical pitfalls to avoid:
- Using one grit for the whole job—step down in stages from coarse to fine to prevent scratches.
- Cheap foam blocks or sponges often collapse before you finish large projects, especially on hardwoods. Budget options may be enticing but are less effective if tackling multiple rooms or heavy-duty applications.
- Improper grip causes blisters and uneven pressure. Advanced blocks from Norton or 3M with ergonomic handles address this issue. If you are working on vertical surfaces, choose blocks specifically made for extended holding comfort.
- Sanding sponges clog quickly on drywall dust. Rinse regularly or select sponges designed for drywall use to maintain effectiveness.
Looking for a detailed approach to wall and floor prep? Read this essential guide to the best self leveling compounds for floors.

Conclusion: Best Sanding Block Takeaways
Choosing the best sanding block means better comfort, cleaner finishes, and less wasted effort on every repair or restoration project. Opt for durable construction, replaceable sandpaper faces, and a grip that matches your hand size and job type. Whether you’re a professional or a home improver, investing in the right sanding block pays off right away and keeps your hands happy. Ready to take your prep work to the next level? Explore new ergonomic blocks or multi-use sanding sponges today for faster, smoother results.
Frequently Asked Questions
What type of sanding block is best for drywall?
A rigid sanding block with a replaceable sandpaper face (such as a 3M or Norton model) is ideal for drywall. These hold their shape, resist clogging, and produce a flat, even finish.
Are sanding sponges or sanding blocks better for corners?
Sanding sponges are typically more effective in corners and curves due to their flexibility. However, blocks fitted with smaller sandpaper pieces can reach most straight edges and some angled areas.
Can I reuse sanding sponges and blocks?
Most sanding sponges and variable-grit blocks are reusable for several sessions. Clean sponges by rinsing under water or tapping out dust. Blocks using replaceable paper just need fresh sandpaper for continued performance.
What grit sandpaper should I use with my sanding block?
For surface prep or paint removal, start with a coarse grit (60-80), then progress to medium (120-150) and finish with fine (220+) for smooth results. Always adjust the grit to match the material and stage of your project.
Do eco-friendly sanding blocks work as well as standard options?
Eco-friendly sanding blocks using recycled or biodegradable materials are improving in durability and grip. For heavy-duty or extended use, premium standard blocks still tend to last longer, but sustainable options now perform well for light to moderate jobs.